
Cutting Vinyl Rolls
Cut a variety of vinyl craft materials including rolls and sheets with your Silhouette or Cricut machine. These are available in a large selection of colors and come in convenient sizes for your crafting needs.
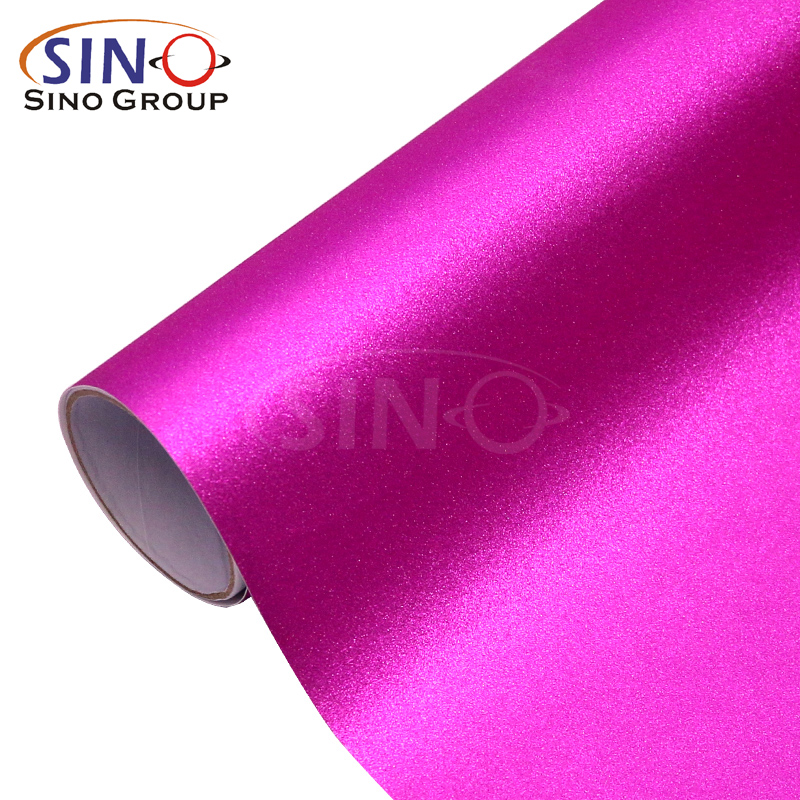
Place your vinyl, paper liner side down, onto the mat and smooth out any wrinkles or bubbles. If your project surface is rough or textured, you may want to prep it with a scraper tool.
Choosing the Right Vinyl
Choosing the right vinyl is essential for creating high-quality advertising materials that are both eye-catching and long-lasting. The durability and versatility of PVC cutting vinyl rolls makes them a great option for businesses of all sizes, from large-scale banners to small signage and vehicle graphics.
There are several types of vinyl available, each designed to suit different projects and surfaces. When selecting the vinyl for your project, consider the conditions under which it will be used and whether it needs to be permanent or removable. Removable vinyl can be easily removed when no longer needed, while permanent vinyl will last for years and be resistant to fading from sunlight or rain.
Another important consideration when selecting the right vinyl is how easy it will be to work with. Some vinyls are more difficult to cut and weed than others. When working with a craft cutter, look for a thin material that is easily manageable.
The best vinyl for crafting includes heat transfer and adhesive varieties. Heat transfer vinyl, or iron-on, allows you to adhere lettering and designs to T-shirts, caps, tote bags, and other garments. It is also a good choice for labeling items such as bottles, cans, Glass Window Film pencil boxes, and food containers. Top brands of heat transfer vinyl include Oracle, HTVRONT, and Siser. HTVRONT offers an extensive color selection, while Oracle and Siser provide a smooth, vinyl-like texture that is easy to cut.
Preparing the Mat
When you are ready to cut your vinyl, make sure that your mat is properly prepared. Small scraps of paper, lint or other debris can make the sticky surface less effective and this can lead to uneven cuts. It’s a good idea to use your lint roller or scraper tool after every project to remove any obvious pieces of paper or other material.
You should also cover your mat when you’re not using it to keep dust and other materials from settling on the sticky surface. This will also prolong the life of your mat.
Before you begin to cut your vinyl, remove the clear protective sheet that covers it. This will reveal the sticker’s sticky surface.
Once you’ve done this, it’s important to smooth out your vinyl with a scraper or brayer. Doing so will ensure that there are no air bubbles that could interfere with the cutting process.
Next, you’ll need to weed your design. This means removing the excess vinyl that isn’t necessary for your final product. You can do this with a weeding hook (which is a great tool to invest in, but you can also use tweezers, a knife or a straight pin) or another sharp-edged tool.
To determine how much vinyl you’ll need, find out the area that you need to cover by multiplying its length and width. You can then divide this number by the coverage listed on your chosen roll of vinyl to see how many boxes you’ll need to purchase.
Cutting the Vinyl
There is a large variety of vinyl cutters available on the market. Some are designed for personal use while others are designed for business. Some machines offer more advanced features than others but they all perform the same basic functions. They are used for a range of applications from home decoration to business signage.
Most vinyl cutters are compatible with design software that is specific to the machine. The software helps to create and edit designs before the machine cuts them out. This can be done through the use of the touchscreen on the machine or through a computer or tablet connected to the machine via USB. Some of the more advanced machines have a built-in scanner that can be used to scan in images or drawing by hand before cutting them out. Brother’s ScanNCut machine has a cult following and offers this functionality in a compact, portable package.
When designing your vinyl design in the software, look for a setting called “kiss cut” (or similar). This will ensure that the cutting blade only goes through the vinyl and leaves the paper liner backing behind. This is essential for projects that will be used for POD (print on demand) printing such as t-shirts and mugs.
Once you have finished designing your project in Design Space, load the vinyl onto the mat and line up the edges Glass Window Film of the sheet with the guides on the machine. Choose your material settings and press the Load button to begin cutting.
Applying the Vinyl
If you are using vinyl to wrap a surface, it is important that you apply the vinyl in a way that accounts for curves and edges. There are several ways to do this, one of which is to use a piece of transfer tape. This clear tape has grid lines built in that can help you keep your design straight and lined up. Another method is to use a hinge. This works best when working with a friend and is a good choice for larger surfaces such as a car.
Regardless of which method you choose, it is important to make sure that the vinyl is applied evenly and free of bubbles. It is also helpful to stretch the vinyl slightly and to apply heat from a heat gun, especially for harder-to-reach areas or for curves and edges. If you have any bubbles, try using your scraper tool to remove them and smooth the vinyl into place.
If you have any questions about applying vinyl or would like to see some great beginner ‘How-To’ videos, check out the Expressions Vinyl YouTube channel. They have a lot of excellent video tutorials that can give you the basics of working with both adhesive and heat-transfer vinyl. They can also help you with more advanced techniques for working with complex designs or for creating a more professional finish on your projects.
Leave a Reply